| Random |
View the images in a random order. |
| Use Spectrum |
Allows user to select an area
with the mouse. A spectrum is displayed and the closest match is
highlighted. |
| Use Grid |
Displays a grid over the
image. The user is prompted for the grid spacing. |
| Use Local Files |
Read images from the local disk
instead of across the internet to improve speed. User must first
download images using the Smalls button. |
| Auto Lookup |
Enables, disables, or change settings of the automatic lookup feature |
| View Drawings |
Display drawings
(pointers,oval,text) that have been made on the image. |
| Draw |
Displays the drawing frame which
allows user to draw shapes on the image. |
| Save |
Saves the scoring data entered
for this image. Data is automatically saved when the user
clicks the
next, back, up or down button, so pressing the save button is usually
unnecessary. |
| Undo |
Undoes any data changes the user
has made since the last save. |
| Link |
Displays the currently selected
position (i.e. x=3,y=5) on any other open ArraySlides. Useful for viewing 2 or more stains
simultaneously. |
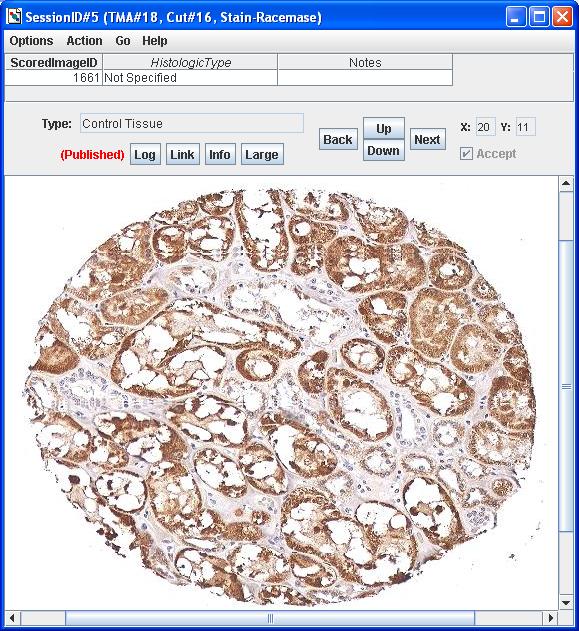
| Info |
Displays the information panel
which includes information about where the image originated, including
the specimen, donor-block, and Tissue Diagnosis. screenshot of Information Panel |
| Large |
Displays a higher magnification
of the
image, allowing the user to see more detail. |
| Accept |
Indicates the user accepts the
automatic diagnosis. (only relevant if the automatic
lookup feature is enabled) |
| Next |
Goes to the next image.
With default options, this means going to the next position to the
right. (if position x=4,y=10 is currently selected, pressing next will
go to x=5,y=10.) This default option can be changed by using
the random option or
the Data
Panel. |
| Back |
Goes to the previous
image.
Opposite in functionality to the Next Button. |
| Up |
Goes to the array-image above
the current selection. (if x=5,y=10 is selected, goes to x=5,y=9) |
| Down |
Goes to the array-image below
the current selection. |
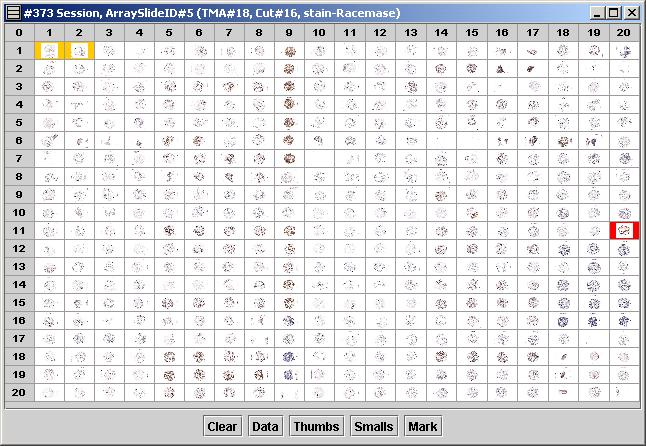
| Clear |
Clears ArrayImages the user has
visited by resetting the color from orange to normal. |
| Data |
Displays the Data
Panel which
shows information about each ArrayImage in the ArraySlide. |
| Thumbs |
Downloads thumbnails of the
ArraySlide so the user can view the entire ArraySlide at once. |
| Smalls |
An optional enhancement that
downloads the small (normal) images in advance, so the user can
navigate through the ArraySlide faster. |
| Mark |
Administrator option that allows
bad images (e.g. an image that is blank) to be marked. Bad images
will be highlighted in black, and the software will automatically skip
over a bad image when the user presses the Next button. |
© Copyright 2009 | All Rights Reserved | The Johns Hopkins University